Introduction
Have you ever troubled downloading YouTube videos to iPod? With the rapid development of science and technology, there are increasing numbers of people who are using iPod for entertainment. Thus, many people are eager to download the videos they are interested in on the Internet and put them into their iPod so that they can bring them wherever you want and they also can share their favorite videos to families and friends. However, there are format limitations when they are downloading YouTube videos to iPod. As a result, they need software to help them fulfill it. A good choice is Free YouTube Downloader which can download and convert YouTube videos to iPod.
Step 1. Input Video URL
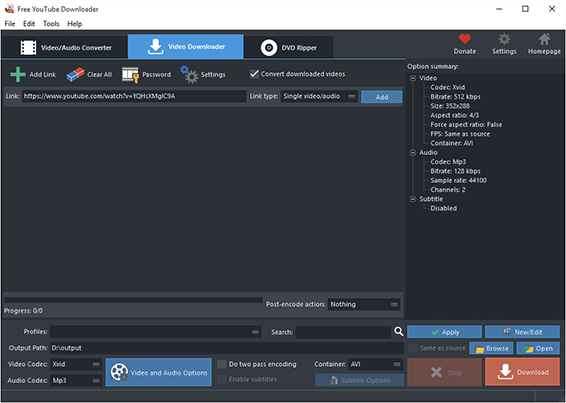
Switch to “Video Downloader” tab and enter the video URL in the bar of “Link”. After that, choose the link type like “Single video/audio” or“Playlist/User” from the dropdown list of “Link type” and click “Add”.
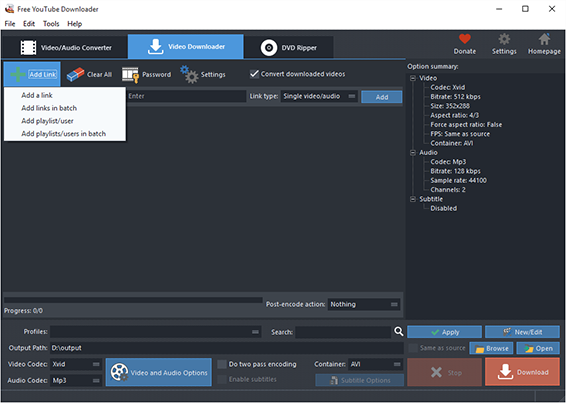
If there are needs to add links from other ways, click “Add Link“:
Add a link: for those who want to download just a single video or audio, enter the URL in activated window and click “OK”;
Add links in batch: for users who need to download more videos, enter the links (one link per line) in the popped up window and click “OK”;
Add playlist/user: for users who hope to download videos from playlist or user, enter the URL of the playlist or user in activated window and click “OK”;
Add playlists/users in batch: for those who chooses to download videos of multiple playlists or users, just input the links (one link per line) in popped up window and click “OK”;
Import links from a text file: to import URLs from a text file, choose the text file which contains URLs (one link per line) in activated window and then click “Open”.
As we know, some websites require logins for video downloading, click “Password” and input the username and password in the boxes of “Username” & “Password”, finally click “Add”.
Step 2. Choose Desired Output Format
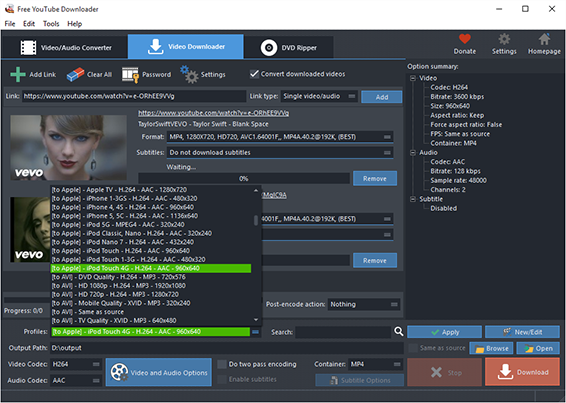
When the URL is added, you will see the links of all video formats from certain websites listed in the dropdown menu of “Format” along with the video thumbnail and details including resolution, codec, framerate, size, etc. Choose iPod as the output format and check “Convert downloaded videos”. The built in previewer allows you to preview the video before download by clicking “Preview”. If you need to delete download tasks, click “Clear All”.
Step 3. Specify Output Folder
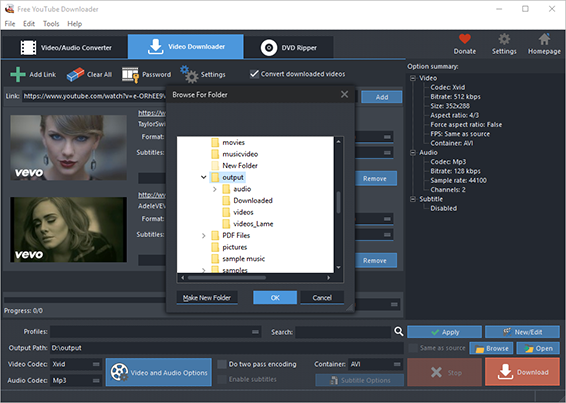
To specify the output path for downloaded videos, click “Browse” and in the activated window choose an output folder. In the menu of “Post-encode action”, you can choose the post-download actions like “close the program”, “open output folder”, “shutdown PC/log off/restart” & “do nothing”.
Step 4. Start Video Download & Conversion
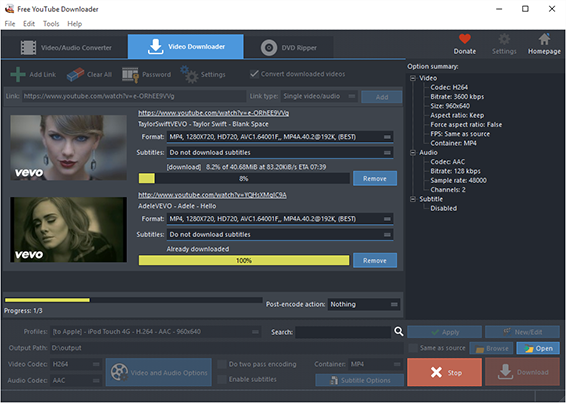
When all settings are ready, click “Download” to start video download and conversion. A progress bar and some details will be provided during the process. To directly find both the downloaded and converted videos after download, click “Open”. To view the log report, click “Logs”.
More Advanced Settings
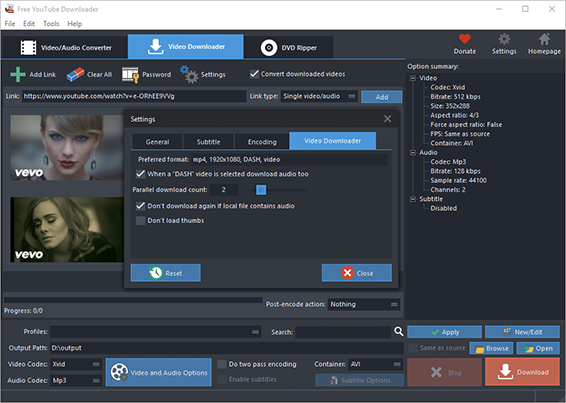
Click “Settings” and choose “Video Downloader”, you will find a few more advanced settings provided: set max parallel downloads; download audio when a “DASH” video is selected; don’t download again if local file contains the same video; don’t load thumbs.
