Introduction
If you are a super iPad fan, Free Video Converter is definitely a right tool to enjoy HD movies. With this wonderful iPad video converter software, you can convert all your HD video collection to iPad compatible format. It will be a great help especially when you have tons of HD videos as it supports batch conversion.
Step 1. Import HD Video Files
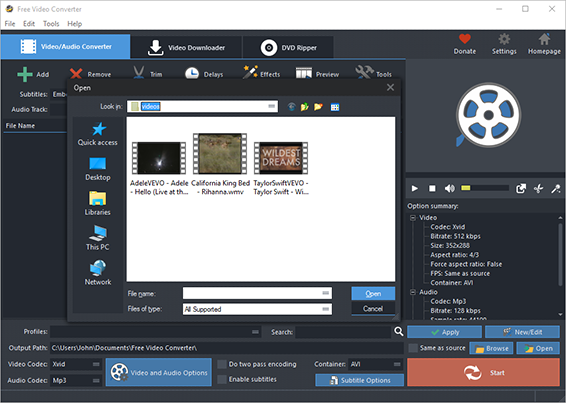
Click “Add” to import HD video files – to import one or more files, choose “Add Files”; to import a folder with video files, choose “Add Folder”; to import a folder with subfolder(s), choose “Add Folder Tree”. The you can use “Up” & “Down” to change the order.

Step 2. Set Output Format & Quality
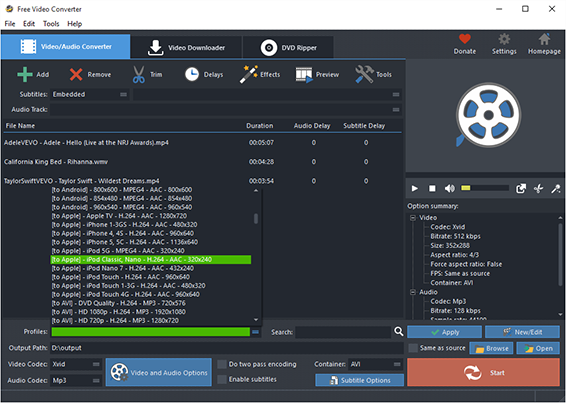
In “Profiles” menu, select “to Apple” – “To iPad” to play the video on and you can see the details of the profile in the “Option Summary” panel at the right. If you know exactly the format your device supports, you can directly choose the output format in “Container” menu. To edit the parameters of the profiles, click “New/Edit” and change the settings in the “Profile Editor” Window. You are allowed to choose the video and audio codec as well as the encoder to use. To change the codec settings, click “Video and Audio Options” and set the options as you want. Choose output path by “Browse“.

Step 3. Start Conversion
When all settings done, click “Start” to start video conversion.

More Tools
To download videos from 300+ video sharing wesites, click “Video Downloader” tab.
You are also allowed to trim the video by “Trim” and to apply effects and add delays, click “Effects” and “Delays”.
It also allows you to rip DVD-Video. Just insert you video DVD or Blu-ray disc and click “DVD Ripper” tab to use the ripper.
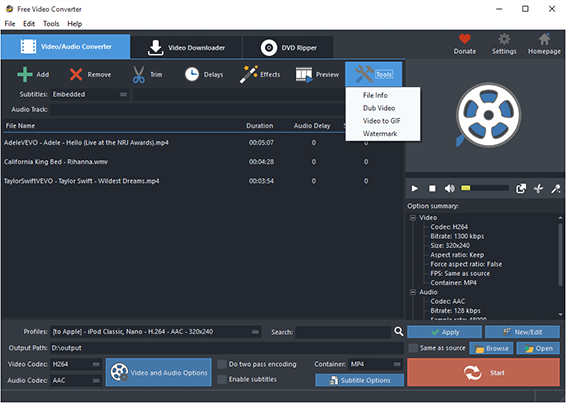
Click “Tools” button and you will find more functions that may come helpful: File Info, Dub Video, Video to GIF and Watermark.

